OAuth
By default Jenkins X installs a publically accessible GUI for viewing pipelines. This is automatically linked to via the “details” on pull requests.
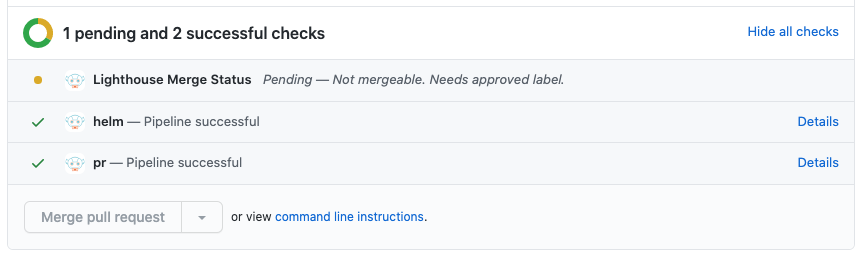
The initial installation will protect this GUI with basic auth however if you want to share access then you might prefer to configure OAuth using Google or GitHub for example instead.
This guide will use oauth2-proxy to protect the Pipeline Visualizer UI with OAuth. There are more advanced configuration settings and provider examples in the documentation here
NOTE There is a limitation of using oauth2-proxy with this configuration at the moment where only one service can be protected via one running oauth2-proxy deployment. This is because the redirect URL that is configured in the OAuth providers can only map to a single oauth2-proxy callback URL. If you would like a more generic SSO solution then you could look at integrating with Dex or Keycloak.
Prerequisites
IMPORTANT
-
TLS and DNS is required, please follow this guide if they not already setup
-
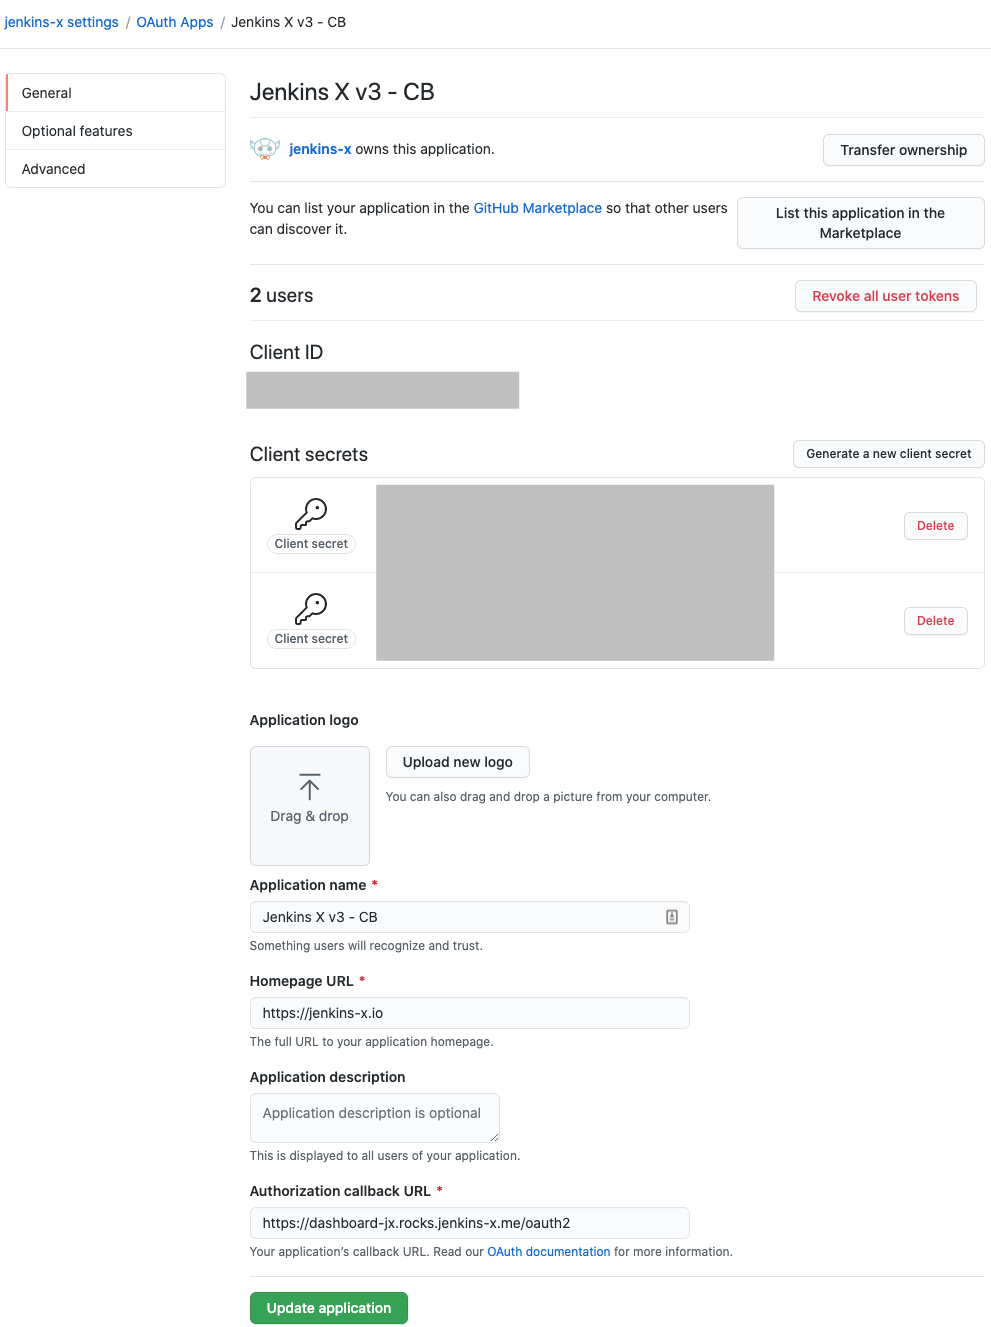
Choose your OAuth provider and get the client ID and client secret using this (https://github.com/oauth2-proxy/oauth2-proxy/blob/7def4bf/docs/docs/configuration/auth.md)
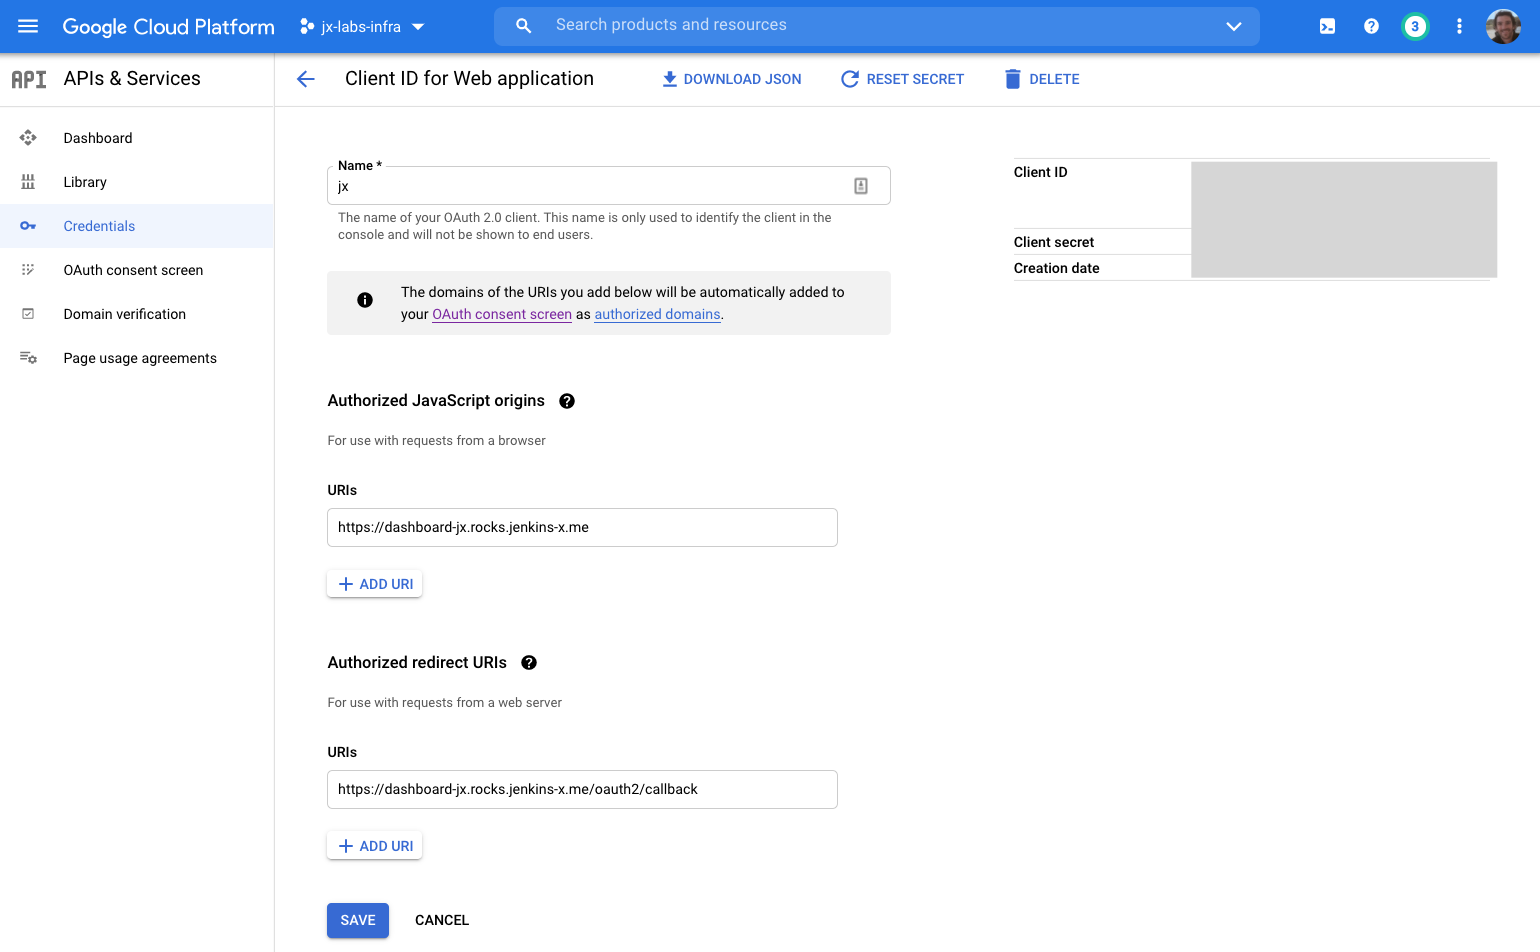
As an example here are two screenshots for using Google and GitHub
GitHub example
Google example
Setup
We will be editing helmfiles so clone your cluster git repository and move into the root directory.
Add the oauth2 proxy helm chart, this will redirect requests to to the configured OAuth provider:
jx gitops helmfile add --chart k8s-at-home/oauth2-proxy
jx gitops helmfile resolve
you should see the new chart added to the end of the file ./helmfiles/jx/helmfile.yaml
git add ./helmfiles/jx/helmfile.yaml
git commit -m 'chore: add oauth2 proxy'
By default Jenkins X is configured to use GitHub as the OAuth provider, to change this edit the file ./helmfiles/jx/helmfile.yaml and add extraArgs config like the google example here:
- chart: k8s-at-home/oauth2-proxy
 version: 5.0.3
 name: oauth2-proxy
 values:
 - ../../versionStream/charts/k8s-at-home/oauth2-proxy/values.yaml
 - jx-values.yaml
 - extraArgs:
     provider: google
For a full list of supported providers see here
By default this configuration works with the Pipeline Visualizer however you can override the default Jenkins X oauth2-proxy helm config to be any ingress if you prefer instead.
i.e. this is the default so you could override the helm value from dashboard to be nexus if you wanted OAuth on Nexus instead. No need to do anything if it is the Pipeline Visualizer you want OAuth for.
ingress:
 hosts:
 - dashboard{{ .Values.jxRequirements.ingress.namespaceSubDomain }}{{ .Values.jxRequirements.ingress.domain }}
Next we need to tell the Kubernetes Ingress that it needs to use our new OAuth provider.
Create a file ./helmfiles/jx/pv-values.yaml with the following contents, this also unsets the basic auth config which was enabled during the initial installation:
ingress:
 annotations:
   nginx.ingress.kubernetes.io/auth-secret: ""
   nginx.ingress.kubernetes.io/auth-type: ""
   nginx.ingress.kubernetes.io/auth-signin: https://$host/oauth2/start?rd=$escaped_request_uri
   nginx.ingress.kubernetes.io/auth-url: https://$host/oauth2/auth
Now reference the new pv-values.yaml file for the pipeline visualizer chart in ./helmfiles/jx/helmfile.yaml
i.e.
- chart: jx3/jx-pipelines-visualizer
 name: jx-pipelines-visualizer
 values:
 - ../../versionStream/charts/jx3/jx-pipelines-visualizer/values.yaml.gotmpl
 - jx-values.yaml
 - pv-values.yaml
Now add, commit and push the changes
git add --all
git commit -m 'chore: enable OAuth for pipeline visualizer'
git push
This will trigger the boot pipeline which you can follow with
jx admin logs
By default, you need to provide three secrets for oauth2-proxy: client id, client secret and secret-cookie. For secret-cookie, you can generate and copy a random one. Once the logs start applying the generated Kubernetes resources you can CTRL+C to stop following the logs, generate a random secret-cookie and populate the secrets in you secret store such as Vault, or Google Secrets Manager for example:
# this generates a random secret-cookie, then you select and copy the output
python -c 'import os,base64; print(base64.b64encode(os.urandom(16)).decode("ascii"))'
# populate secrets
jx secret edit -i
filter for oauth2-proxy and select client id, client secret and secret-cookie options using the space bar

Now enter the client id and secret you got from the Prerequisites step above,as well as the generated random secret-cookie.
Once entered you can wait to see the oauth2-proxy pod become Available using
kubectl get deploy/oauth2-proxy -w
When Ready you can access the pipeline visualizer using the hostname from
kubectl get ing jx-pipelines-visualizer
Feedback
Was this page helpful?
Glad to hear it! Please tell us how we can improve.
Sorry to hear that. Please tell us how we can improve.