Prerequisites
- cluster created using Jenkins X GCP Terraform getting started
- own a domain and have GCP manage it, configure cloud dns to manage a domain
- latest Jenkins X CLI, Infrastructure and Cluster git repository updates upgrade
Cloud Infrastructure
First we will configure the cloud infrastructure requirements:
- a GCP Service Account with the
dns.adminrole, see here for more information - a managed cloud dns zone, see here for more information
To satisfy these requirements go to your infrastructure repository (contains Terraform main.tf) and add to your values.auto.tfvars the following:
apex_domain = "foo.io"
Most people prefer to use a subdomain for a specific installation rather than purchasing one domain per cluster. For example in a multi cluster setup you will probably want all using the same parent domain but two clusters using a different subdomain like development.foo.io, staging.foo.io leaving production using just the parent domain foo.io.
To use a subdomain for this cluster add the following configuration:
subdomain = "dev"
We will now add details that will be passed to Jenkins X as requirements when booting the cluster.
Add these to values.auto.tfvars
lets_encrypt_production = true
tls_email               = your_email_address@googlegroups.com
Now apply these changes:
git add values.auto.tfvars
git commit -m 'feat: enable DNS cloud resources'
git push
You may want to set two environment variables here so that Terraform does not prompt for values
export TF_VAR_jx_bot_username=
export TF_VAR_jx_bot_token=
now run
terraform plan
terraform apply
If using a subdomain you will now see your managed zone in GCP here
Once terraform has finished for now there is a manual trigger of the Jenkins X cluster repository required. This will not be needed in the future but for now please make a dummy commit on your cluster git repository and follow the boot job as in applies the updates to your cluster.
To follow the jx boot installation using the instructions given in the terraform output, connect to the cluster and run:
jx admin logs
There is a timing issue with cert-manager and the admission controller so the first boot job may fail but second will run automatically and succeed.
It can take a short while for DNS to propagate so you may need to wait for 5 - 10 minutes. https://dnschecker.org/ is a useful way to check the status of DNS propagating.
To verify using the CLI run:
kubectl get ingress -n jx
and use the hook URL
jx verify tls hook-jx.dev.foo.io --production=false --timeout 20m
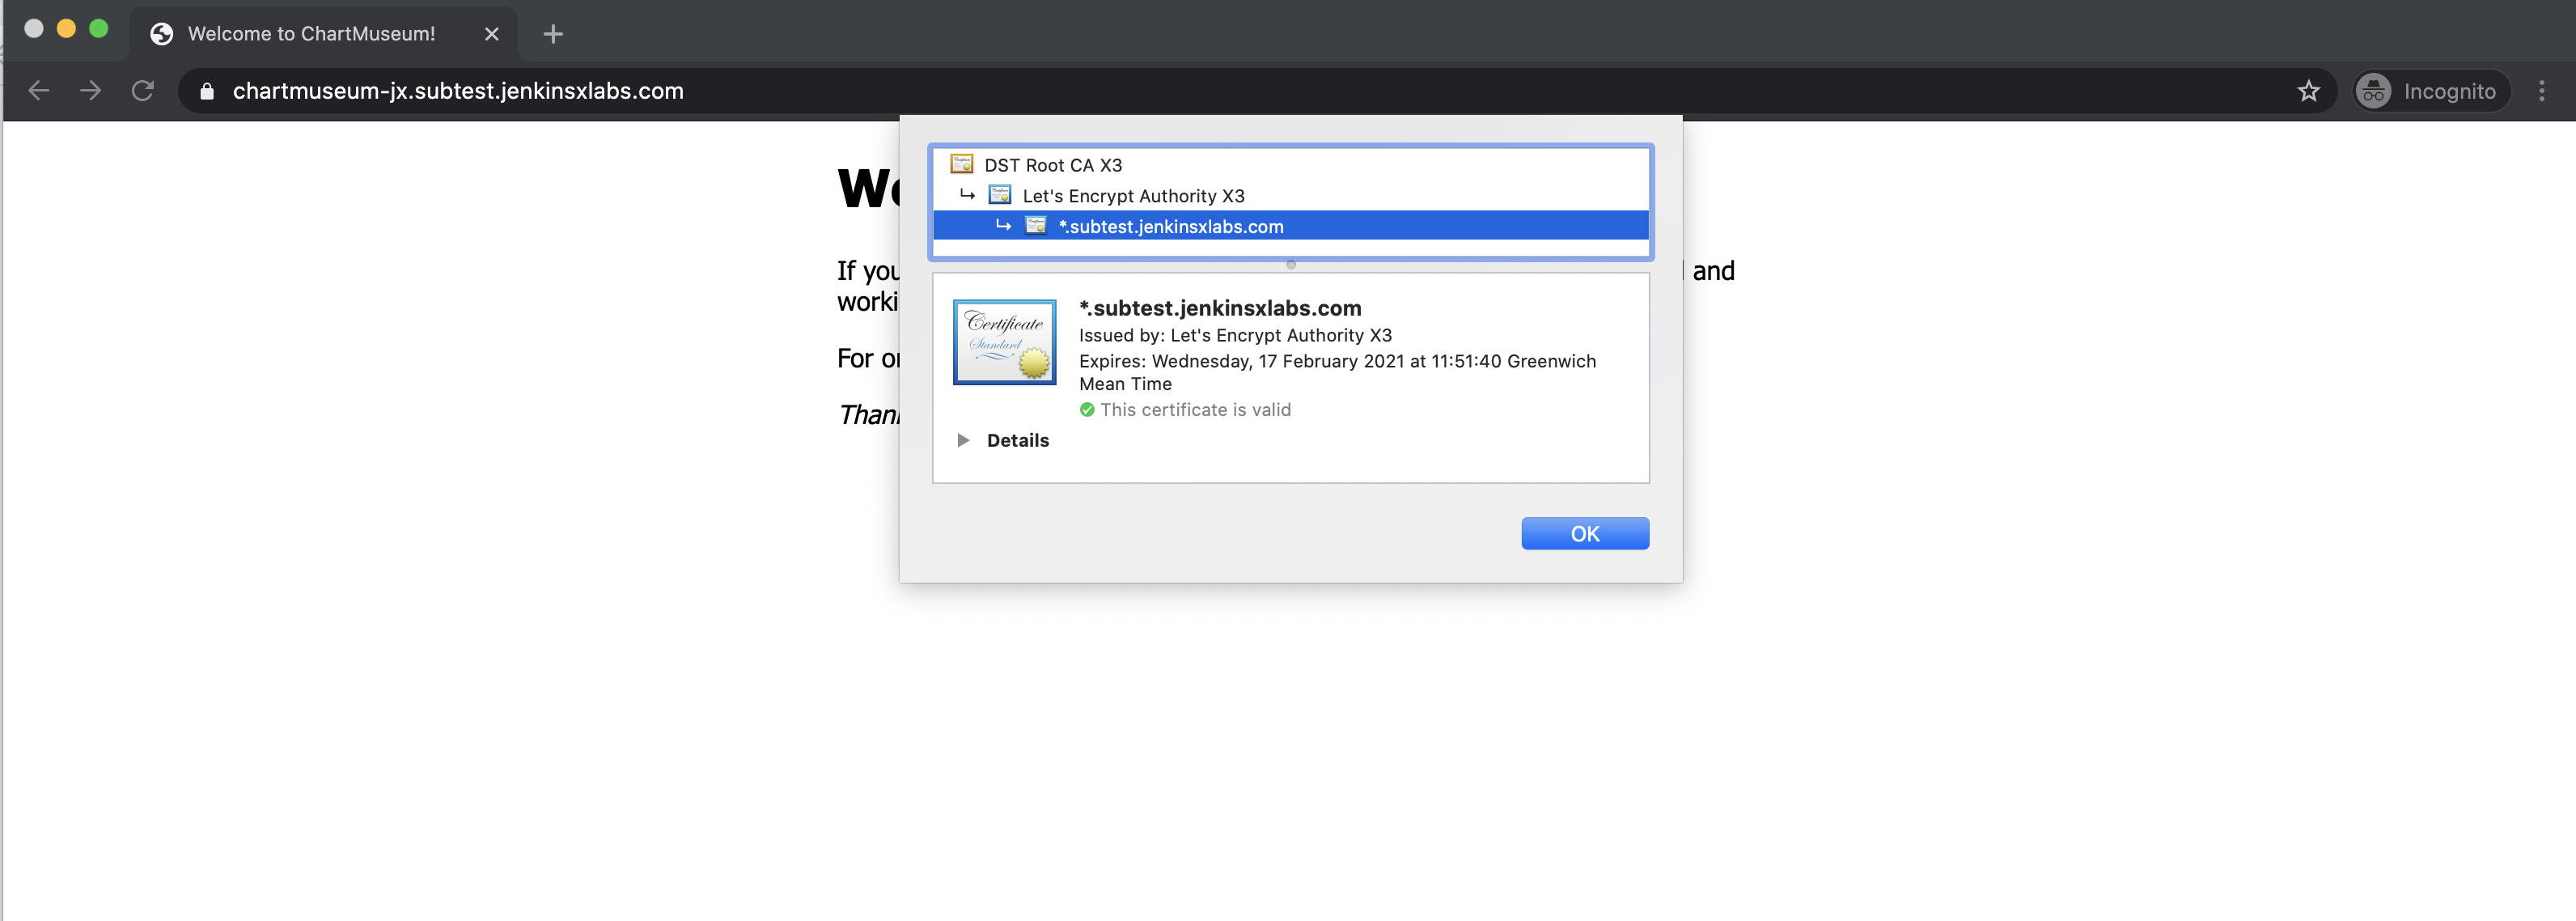
You should be able to verify the TLS certificate from Lets Encrypt in your browser (beware of browser caching if you don’t see any changes)

Once this is working you can switch any of the configuration using your cluster git repository and change the jx-requirements.yaml, e.g. toggling the cert-manager production service or editing the email address used:
ingress:
  domain: dev.foo.io
  externalDNS: true
  namespaceSubDomain: -jx.
  tls:
    email: "joe@gmail.com"
    enabled: true
    production: true
Git commit and push the change back to your remote git repository and follow the installation:
jx admin logs
You will now be issued a valid TLS certificate
jx verify tls hook-jx.dev.foo.io --production=true --timeout 20m
Feedback
Was this page helpful?
Glad to hear it! Please tell us how we can improve.
Sorry to hear that. Please tell us how we can improve.